| Version 6 (modified by aj, 9 years ago) (diff) |
|---|
BURT Installation
These steps will guide you through setting up your BURT and turning it on.
NOTE: It is highly recommended that you use 2 people for setup to help lift heavy objects.
- Remove all components from boxes.
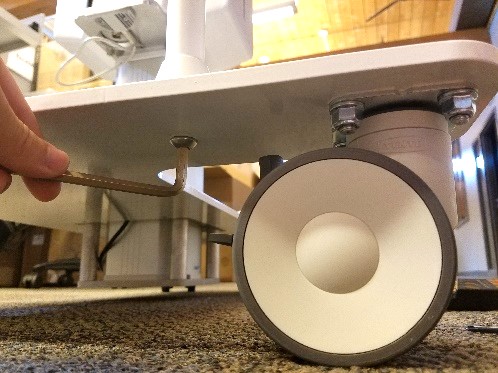
- Fasten the handle onto the T-plate using the button (dome) head screws.
- Fasten the lifting column to the T-plate using 4 socket head screws.
- Place the core robot on top of the lifting column.
- Fasten the robot to the column using 4 socket head screws.
- Place the console on the 4 small screws with the Barrett Medical logo facing away from the column.
- Plug the purple Robot-Console cable into the bottom of the active robot and turn to secure.
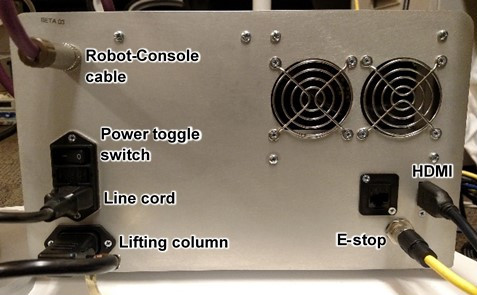
- Make all electrical connections to the back of the console.
- Insert the cradle into the cradle socket and screw in the knurled ring until you can no longer see the red strip.
- Position BURT as shown in the BURT Mounting Layout.
- Plug the HDMI cable into a monitor.
- Plug the power cable into a wall outlet.
- Place cord concealers over all cords.
- Turn on the toggle switch on the back of the console.
- Place the BURT in its home position.
- Press the power button on the front of the console.
- Start a demo program by double-clicking any of the example programs on the desktop. More information about the demos is at Example Applications?.


