| Version 1 (modified by edison, 14 years ago) (diff) |
|---|
WAM Accuracy and Repeatability Study
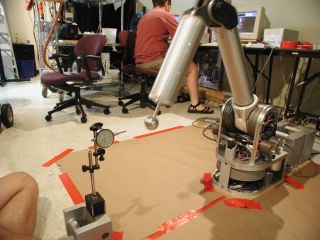
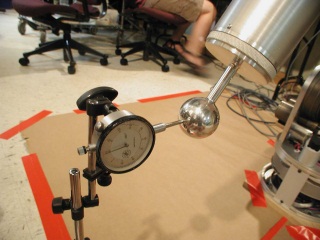
Repeatability Test
Encoder resolution: 40,000 counts/rev Motor resolution: 0.009 deg/count Joint 1 transmission ratio: 30:1 Ideal joint resolution: .0003 deg/count Approximate moment arm: 1 m Ideal repeatability: 0.005 mm
Repeatability Data
Accuracy Test
Notes regarding accuracy data:
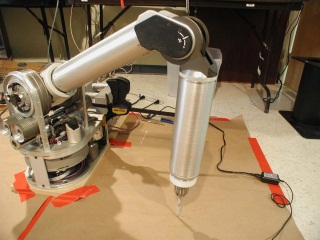
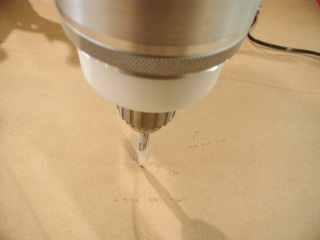
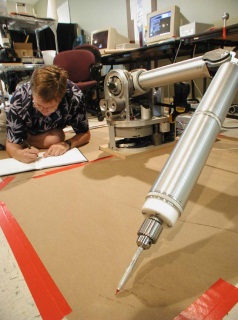
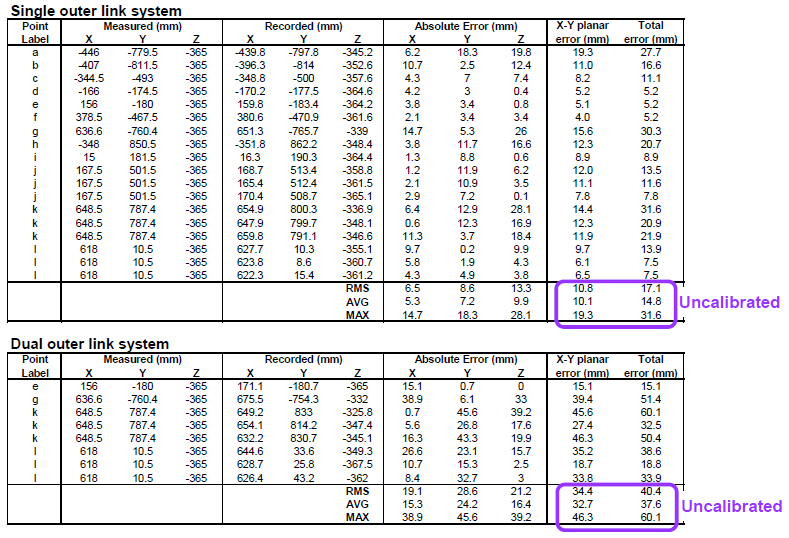
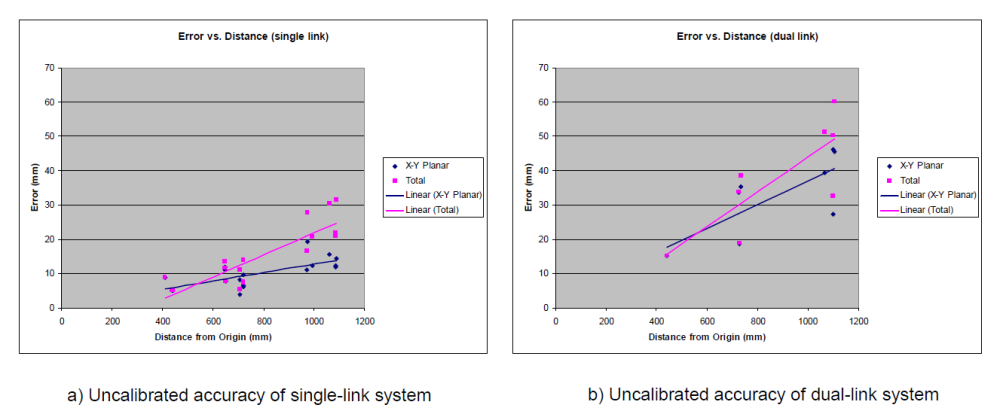
It is important to note that the repeatability data is a better measure for calibrated accuracy than is uncalibrated accuracy. Uncalibrated accuracy was measured as shown in the figures to the right. A pen attached to the outer link was used to plot points on paper taped to the floor and the WAM base was secured to the floor.
Potential sources of measurement error include:
- the floor was assumed to be flat
- physical measurement error with rulers & T-squares
- physical measurement of WAM origin difficult to measure accurately
Sources of system error (calibration error) include:
- transmission ratio errors
- tolerance stack-up of parts
- tool location measurement (tip of pen)

